3D Printing Nylon + Kevlar

I am not new to 3D printing, but I am by far, not an expert. I have only been creating objects for the last couple of years. Up to this point, I have only been using filament made from polylactic acid, or more commonly know by its initials: PLA. It is probably the most common filament used by hobby-printers. It comes in a million different colors (ok, I haven't actually counted the colors), dozens of finishes - matte, gloss, metallic, satin sheen and many more. It is relatively easy to print, does not require an all metal hotend, use of a standard 0.4mm brass nozzle is the norm, does not require high temperatures and it's relatively inexpensive.

Printing with Nylon with embedded Kevlar is none of those things. Before we get to the filament, let's take a look at Kevlar and nylon and a bit of their histories and properties.

Kevlar is a high-performance synthetic material that is known for its exceptional strength and durability. It was developed by Stephanie Kwolek at the DuPont company in 1965. It is a popular material with a wide range of applications, including body armor, tires, aerospace, fire fighting equipment and sporting equipment. It is a type of aramid fiber, which is a class of synthetic polymer materials that are characterized by their high strength and heat resistance. Aramid fibers are composed of long chains of molecules that are held together by strong chemical bonds, which give them their exceptional strength and durability. Kevlar, in particular, is known for its high tensile strength - five times greater than steel, and its high temperature resistance properties - having a melting point of 600° C.
The nylon used in Nylon + Kevlar filament is called PA6, or Nylon 6, and as a filament material for 3D printing, it is popular due to its ability to produce high-quality, precise prints with a smooth surface finish. One of the most significant properties of PA6 nylon filament is its high tensile strength, making it ideal for producing functional, light-load-bearing parts. Post-printing characteristics of PA6 nylon filament include its low water absorption and this property ensures that the printed parts maintain their dimensional stability even in humid environments, reducing the risk of warping or deformation. One of the primary issues with PA6 nylon filament (e.g. pre-printing) is its tendency to absorb moisture from the air. Moisture can degrade the filament's quality, leading to decreased strength and brittleness, which can affect the performance of printed parts. Additionally, PA6 nylon filament has a relatively low melting point compared to other high-performance materials such as ABS or polycarbonate, making it easier to print on a wider range of 3D printers.

Filament

The filament is dark grey in color with a rough texture. With nylon being hygroscopic, and particularly PA6 nylon, we need to deal with moisture in the filament. I am using an Ivation Countertop Dehydrator Drying Machine and set to highest temperature, 158° F or 70° C. I left the filament in the dehydrator for about sixteen hours.

Printing

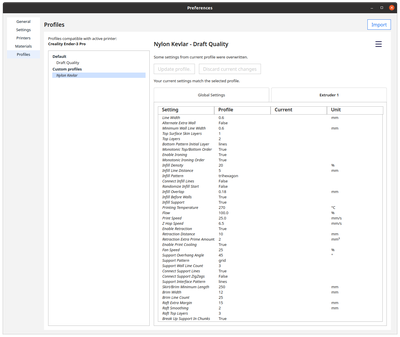
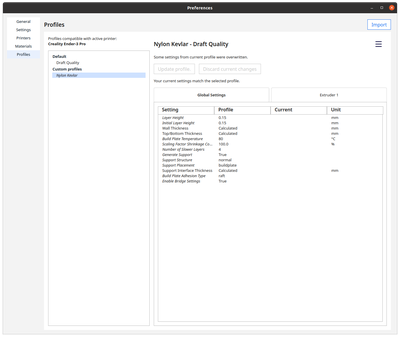
The print quality of objects made from Nylon + Kevlar filament is questionable at best. I use UltiMaker Cura for model slicing and, unfortunately, Cura does not have default settings for Nylon with a 0.6 mm nozzle. It took many iterations of adjusting parameters in Cura to arrive upon something that was close an ok quality print. Here is the configuration profile that I used. The configuration is a bit of a mess; the material is PLA and the nozzle size is 0.8 mm; in the available profiles, you should get a profile named "Nylon Kevlar"

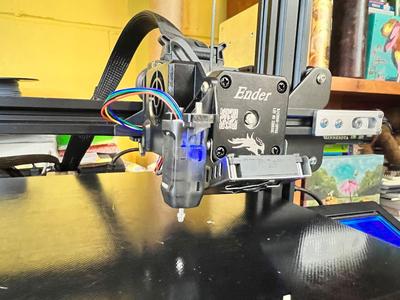
I am using a 0.6 mm ruby tipped nozzle; if you use a vanilla brass nozzle, the kevlar fibers will quickly chew into the filament hole making it be no longer a perfectly round circle.

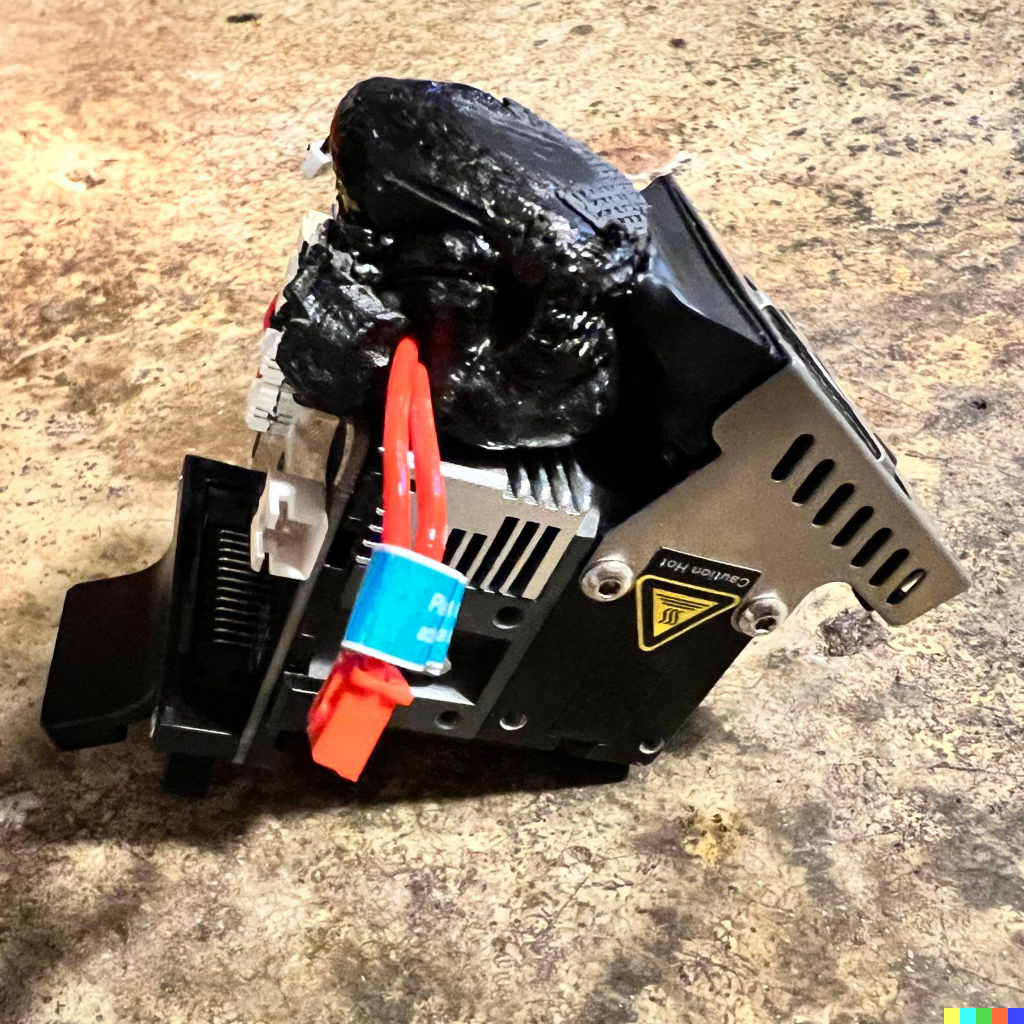
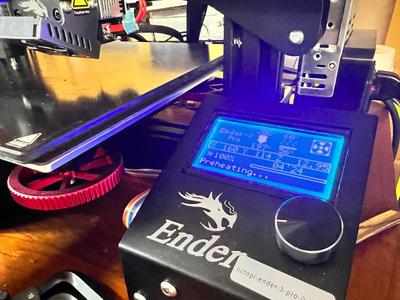
I had to modify the Marlin firmware on my heavily modified Ender 3 Pro to allow the hotend temperature to get up to at least 270° C and bed up to at least 80° C. I attempted printing at 255° C and the filament jammed in the hotend. I settled upon using 270° C for the hotend and 80° C for the bed.

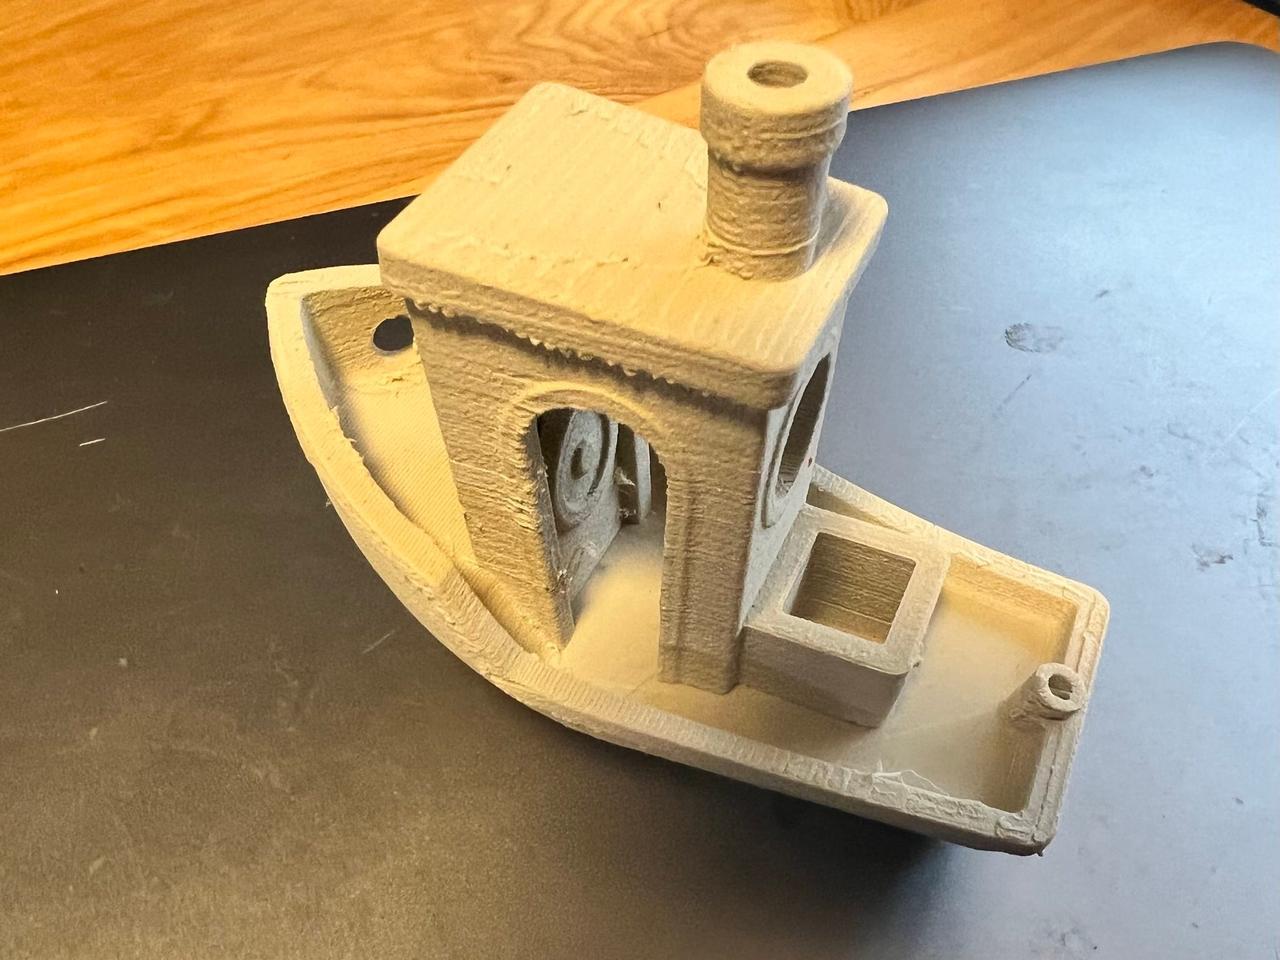
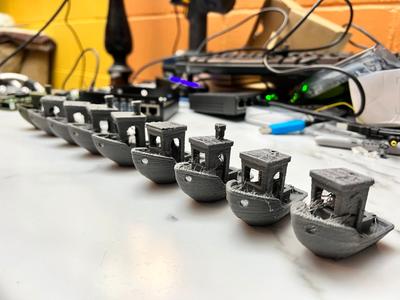
I printed eight Benchys (there are nine in the photo; one is a PLA print for comparison), each with different Cura settings. It was a trial and error of adjusting single variables and then printing a Benchy. The quality of a print, compared to a perfectly tuned Ender 3 Pro, that uses PLA is a stark difference. I was unable to get anything that remotely appeared to be a smooth surface. All surfaces have a rough, sandpaper-like feel. YouTuber 3DP Iceland made a brief video about Nylon + Kevlar, and his results were similar to mine: rough surfaces, and very stringy results.

The first round tests involved tuning temperatures. As I mentioned, 270° C was settled on for the hotend, and 80° C for the bed. There were fewer stringing at that temperature for the hotend. Second and third rounds involved adjusting retraction of filament on moves; this too reduced stringiness. The rest of the tunings were layer height, flow, extruder movement speed, and so on.

One of the other settings that I found was just about a must use: a raft instead of a brim or skirt. I used Magigoo for better adhesion. For longer (never successful) prints, using a raft proved to not work either. The edges of the raft curled up from the bed; using a wider, tighter brim might be more helpful.

Printing with this filament is very frustrating at times. Good bed adhesion is critical. A clean, wide enough nozzle is very important. Correctly calibrated nozzle height and leveled bed is important.

This is probably now one of my least favorite materials to print with;


Marlin Firmware - Modified Ender 3 Pro

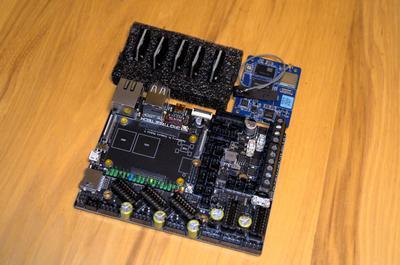
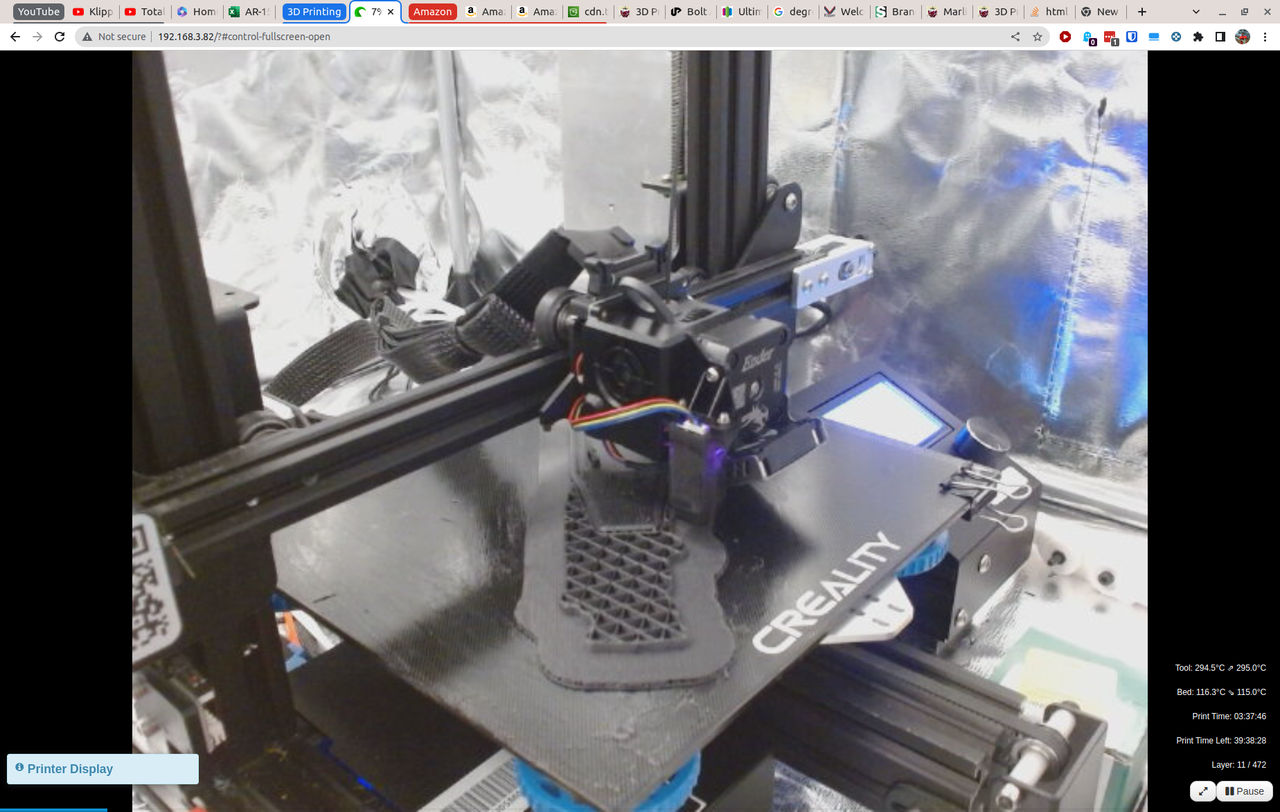
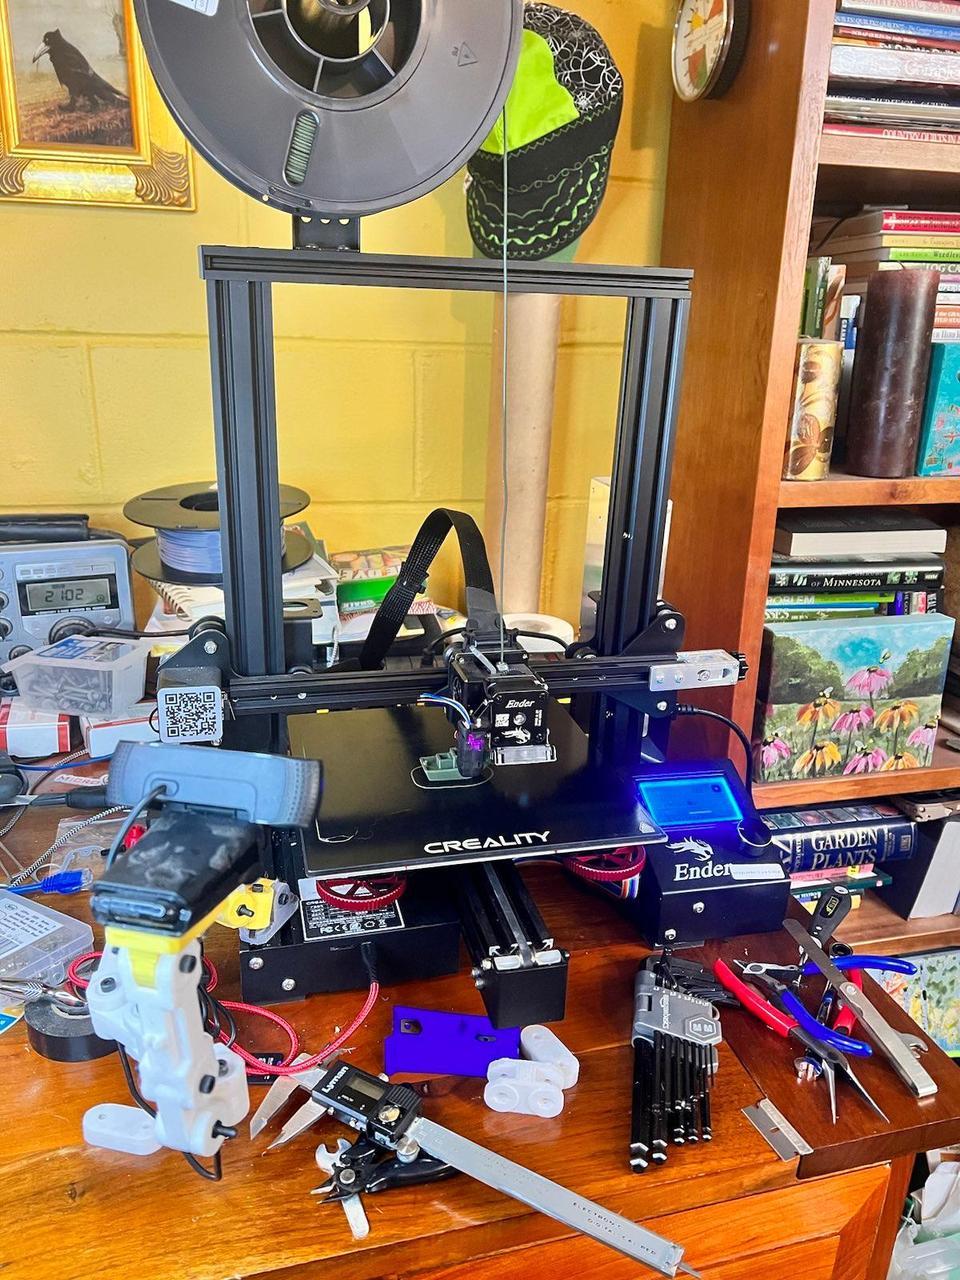
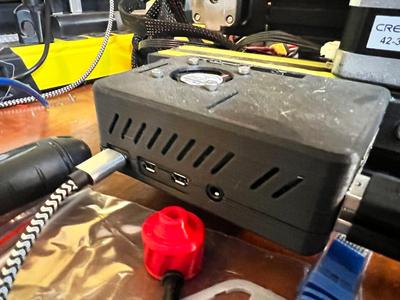
Just about the only thing original and stock on my two Creality Ender 3 Pro 3D printers are the extruded aluminum frames and the control interface with its infinite-turn control knob. Everything else has been replaced; mainboard, extruder hot end and direct filament drive, Z-axis upgrade with additional stepper motor, auto bed leveling and, of course, the firmware and the addition of printer management software, Octo Print via a Raspberry Pi 4b. Oh, and a web camera. The incredibly cluttered photo to left is one of my two heavily upgraded Ender 3 Pro printers.
If you are new to the 3D printer scene, and in particular the world of upgrades and modifications to kit-printers, let's step back and have an brief overview. I won't get into the super-weedy-details because that has likely been covered ad nauseam.

The gist of 3D printing is, you have filament; it can be made of a whole host of materials; everything from nylon with carbon fiber embedded in it, to the more mundane, polylactic acid or more commonly called PLA. This filament is softened enough to flow by way of the hot end and is pushed out of a precision nozzle. This hot end is most often mounted on a series X and Z-axis rails. A heated bed is mounted on the Y-axis. All the movement is made possible by the use of stepper motors. The motors, the hotend and bed temperatures are all controlled by a mainboard.

Upgrades

The upgraded mainboard has a STM32 F103 RET6 microcontroller. The upgrade gives you a 32 bit processor versus the original 8 bit -- this allows for more complicated firmware installs. The board also has improved, silent stepper motor controllers. In order to fully take advantage of this motherboard and accessories like the CR Touch or BL Touch, you will need configure and recompile the Marlin Firmware. We get to that later in this post.

The upgrades listed above are what I eventually arrived upon. There was a Micro Swiss Direct Drive Extruder.

Upgrade Costs Breakdown
Part Cost
Micro Swiss Direct Drive Extruder $99.75
Creality Sprite Direct Drive Extruder Pro Kit $109.99
Micro-Swiss All Metal Hotend Kit $63.50
Ender 3 Dual Z-axis Upgrade Kit $35.79
Upgrade X-axis Belt Tensioner $15.98
Ender 3 Dual Z-axis Upgrade Kit $35.79
Spring Steel Flexible Build Surface Magnetic Removable Bed Sheet $15.98 (2x)
Creality Ender 3 Pro 32-bit Silent Board Motherboard V4.2.7 $42.99
Raspberry Pi 4b - 2GB $45.00
DC 6V 9V 12V 24V to DC 5V 5A Buck Converter Module, 9-36V Step Down to USB 5V $42.99
Logitech C920x HD Pro Webcam $69.99
Creality BLTouch V3.1 Auto Bed Leveling Sensor Kit $47.99
Base model Ender 3 Pro $236.00
Total $877.72

UPDATE 2023/02/25: I purchased a Creality Sprite Extruder Pro ($109.99) This is an improvement on the Creality Sprite Extruder; it allows for filament temperatures up to 300℃. I have a longer term project in mind that will require printing with material at or above 260℃.

As you can see, a base model Ender 3 Pro costs $236.00, but throw in an armful of higher end upgrades (for the retail market), and you suddenly have a setup that has cost nearly $900.00. Yikes! Are all of these upgrades necessary? I would have to say, No. The Creality Direct Drive extruder is well worth the money - never again deal with bowden tubes. The other two must upgrades are the mainboard and adding a CR Touch or BL Touch auto-leveling sensor. Runners up is the dual Z-axis; it really stabilizes the frame.

Firmware

In order to take advantage of a CR Touch or BL Touch, you will need to configure the firmware to use it. The probe-to-offset also needs to be changed when using the Sprite Direct Drive as the nozzle is a slight different location than the stock nozzle. I won't go into all the details of, but you can compare Configuration_og.h (the original) and Configuration.h as well as Configuration_adv_og.h and Configuration_adv.h. The changes range from enabling CR Touch/BL Touch and enabling a comprehensive bed leveling system, to adjusting the position of the nozzle and enabling thermal safety features.

git clone https://github.com/ajokela/ender3pro_marlin-2.0.x.git

Open Visual Studio Code, and Open Folder. Navigate to where you cloned the repository to and open it.

If you are wanting configuration and compile your own firmware, checkout Marlin and Platform.io. It will get your started. Once Platform.io is installed, you can clone the repo and open it in Visual Code.

Here are the things that were changed in Configuration.h and Configuration_adv.h

Configuration.h
#define STRING_CONFIG_H_AUTHOR "(Alex, Ender-3 Pro)"
Who made the changes.
#define CUSTOM_MACHINE_NAME "Ender-3 Pro 4.2.7 - fw v2.0.9.3 - 2023-02-23"
I like to put the date and version numbers in firmware so it is easy to identify a what and a when
#define HEATER_0_MAXTEMP 315
You will want to be careful with this setting; it is the temperature of the hotend in celsius; Needed higher than default for printing nylon and PET-G. Because of HOTEND_OVERSHOOT, maximum temperature will always be MAXTEMP - HOTEND_OVERSHOOT
DO NOT SET AT THIS IF YOU HAVE A STOCK HOTEND
#define HOTEND_OVERSHOOT 20
#define BED_OVERSHOOT    15
(°C) Forbid temperatures over MAXTEMP - OVERSHOOT for hotend and (°C) Forbid temperatures over MAXTEMP - OVERSHOOT for bed
#define S_CURVE_ACCELERATION
Smoother curve motions
//#define Z_MIN_PROBE_USES_Z_MIN_ENDSTOP_PIN
Comment out because we will be using a CR-Touch or BL-Touch
#define USE_PROBE_FOR_Z_HOMING
Force the use of the probe for Z-axis homing
#define BLTOUCH
Enable BL Touch/CR Touch
#define NOZZLE_TO_PROBE_OFFSET { -10.0, -10.0, 0 }
Move the offset for the Sprite Direct Drive hotend
#define PROBING_MARGIN 15
A little more buffer around the perimeter
#define MULTIPLE_PROBING 2
#define EXTRA_PROBING    1
Add extra probings to eliminate outliers
#define PREHEAT_BEFORE_PROBING
#if ENABLED(PREHEAT_BEFORE_PROBING)
  #define PROBING_NOZZLE_TEMP  200   // (°C) Only applies to E0 at this time
  #define PROBING_BED_TEMP     60
#endif
Require minimum nozzle and/or bed temperature for probing; bump temperature to match pre-probing temperature
#define Y_BED_SIZE 210
#define Z_MAX_POS X_BED_SIZE
Adjust bed size; I ran into problems where the extruder would overshoot the bed.
#define AUTO_BED_LEVELING_UBL
Unified Bed Leveling. A comprehensive bed leveling system combining the features and benefits of other systems. UBL also includes integrated Mesh Generation, Mesh Validation and Mesh Editing systems.
#define ENABLE_LEVELING_AFTER_G28
Always enable leveling immediately after G28.
#define G26_MESH_VALIDATION
Enable the G26 Mesh Validation Pattern tool.
#define GRID_MAX_POINTS_X 6
#define UBL_HILBERT_CURVE
#define UBL_MESH_WIZARD
Use Hilbert distribution for less travel when probing multiple points. Run several commands in a row to get a complete mesh.
#define LCD_BED_LEVELING
Add a bed leveling sub-menu for ABL or MBL.
#define Z_SAFE_HOMING
Moves the Z probe (or nozzle) to a defined XY point before Z homing.
#define PREHEAT_1_TEMP_HOTEND 200
#define PREHEAT_1_TEMP_BED     60
Bump up the preheat temperatures of hotend and bed
Configuration_adv.h
#define THERMAL_PROTECTION_PERIOD 120        // Seconds
#define THERMAL_PROTECTION_HYSTERESIS 10     // Degrees Celsius
False positives with Thermal Runaway
#define EXTRUDER_RUNOUT_PREVENT
#if ENABLED(EXTRUDER_RUNOUT_PREVENT)
  #define EXTRUDER_RUNOUT_MINTEMP 195
  #define EXTRUDER_RUNOUT_SECONDS 30
  #define EXTRUDER_RUNOUT_SPEED 1500  // (mm/min)
  #define EXTRUDER_RUNOUT_EXTRUDE 5   // (mm)
#endif
Extruder runout prevention. If the machine is idle and the temperature over MINTEMP then extrude some filament every couple of SECONDS.
#define HOTEND_IDLE_TIMEOUT
#if ENABLED(HOTEND_IDLE_TIMEOUT)
  #define HOTEND_IDLE_TIMEOUT_SEC (10*60)   // (seconds) Time without extruder movement to trigger protection
  #define HOTEND_IDLE_MIN_TRIGGER   195     // (°C) Minimum temperature to enable hotend protection
  #define HOTEND_IDLE_NOZZLE_TARGET   0     // (°C) Safe temperature for the nozzle after timeout
  #define HOTEND_IDLE_BED_TARGET      0     // (°C) Safe temperature for the bed after timeout
#endif
Hotend Idle Timeout and Prevent filament in the nozzle from charring and causing a critical jam.
#define PROBE_OFFSET_WIZARD
Add Probe Z Offset calibration to the Z Probe Offsets menu
#define PROBE_OFFSET_WIZARD_START_Z -4.0
Enable to init the Probe Z-Offset when starting the Wizard. Use a height slightly above the estimated nozzle-to-probe Z offset.
#define PROBE_OFFSET_WIZARD_XY_POS { X_CENTER, Y_CENTER }
Set a convenient position to do the calibration (probing point and nozzle/bed-distance).
#define LCD_SET_PROGRESS_MANUALLY
Add an 'M73' G-code to set the current percentage
#define USE_M73_REMAINING_TIME
#define ROTATE_PROGRESS_DISPLAY
Use remaining time from M73 command instead of estimation; and Display (P)rogress, (E)lapsed, and (R)emaining time
#define LCD_PROGRESS_BAR
Show a progress bar on HD44780 LCDs for SD printing
#define BINARY_FILE_TRANSFER
Add an optimized binary file transfer mode, initiated with 'M28 B1'
#define BABYSTEP_DISPLAY_TOTAL

#define BABYSTEP_ZPROBE_OFFSET
#if ENABLED(BABYSTEP_ZPROBE_OFFSET)
  #define BABYSTEP_ZPROBE_GFX_OVERLAY
#endif
Display total babysteps since last G28
Combine M851 Z and Babystepping
Enable graphical overlay on Z-offset editor
#define HOST_ACTION_COMMANDS
#if ENABLED(HOST_ACTION_COMMANDS)
  #define HOST_PAUSE_M76             
  #define HOST_PROMPT_SUPPORT        
  #if ENABLED(HOST_PROMPT_SUPPORT)
    #define HOST_STATUS_NOTIFICATIONS
  #endif
  #define HOST_START_MENU_ITEM
  #define HOST_SHUTDOWN_MENU_ITEM
#endif
Tell the host to pause in response to M76
Initiate host prompts to get user feedback
Send some status messages to the host as notifications
Add a menu item that tells the host to start
Add a menu item that tells the host to shut down

Even with all of this add-ons and modifications, the printer remains finicky. It is constantly needing adjustments which is expected to an extent when you are dealing with moving material and high heat.

Does it print well? It depends. It depends upon the nozzle wear, the flexibility and moisture content of the filament, and the type of the filament. These are all variables that any 3d printer would encounter. I just don't know how big of a deal these would be to another printer. I have also two Creality CR-6 SE printers, and they worked well until they did not. Maybe someday I will get a higher-end printer and be able to do more comparisons.

Download most recent compiled firmware (v2.0.9.3)

BIGTREETECH CB1 - Review

A commenter on the previous review of Raspberry Pi CM4 and pin compatible modules brought to my attention that there exists a fifth module: BIGTREETECH CB1.

My hot take on this system on a module is it is underwhelming. The two call outs are the memory size - 1 gigabyte - and the ethernet - 100 megabits only. The other four modules previously tested all had 4 gigabytes of memory and all had 1 gigabit ethernet.

Geekbench Metrics
Module Single CPU Metrics Multi-CPU Metrics
Raspberry Pi CM4 228 644
Radxa CM3 163 508
Pine64 SOQuartz 156 491
Banana Pi CM4 295 1087
BIGTREETECH CB1 91 295
Features Comparison
Raspberry Pi CM4 Radxa CM3 Pine64 SOQuartz Banana Pi CM BIGTREETECH CB1
Specifications Specifications Specifications Specifications Specifications
Core Broadcom BCM2711, Quad core Cortex-A72 (ARM v8) 64-bit SoC @ 1.5GHz Rockchip RK3566, Quad core Cortex-A55 (ARM v8) 64-bit SoC @ 2.0GHz Rockchip RK3566, Quad core Cortex-A55 (ARM v8) 64-bit SoC @ 1.8GHz and Embedded 32-bit RISC-V CPU Amlogic A311D Quad core ARM Cortex-A73 and dual core ARM Cortex-A53 CPU Allwinner H616, Cuad core ARM Cortex-A53 (ARM v8) 64-bit SoC @ 1.5 GHz
NPU - 0.8T NPU 0.8 TOPS Neural Network Acceleration Engine 5.0 TOPS -
GPU - Mali G52 GPU Mali-G52 2EE Bifrost GPU Mali-G52 MP4 (6EE) GPU Mali-G31 MP2
Memory 1GB, 2GB, 4GB or 8GB LPDDR4 1GB, 2GB, 4GB or 8GB LPDDR4 2GB, 4GB, 8GB LPDDR4 4GB LPDDR4 1GB DDR3L
eMMC On module - 0GB to 32GB On module - 0GB to 128GB External - 16GB to 128GB On module - 16GB to 128G) -
Network 1Gbit Ethernet - Option for WiFi5, Bluetooth 5.0 1Gbit Ethernet - Option for WiFi5, Bluetooth 5.0 1Gbit Ethernet - WiFi 802.11 b/g/n/ac, Bluetooth 5.0 1Gbit Ethernet 100Mbit Ethernet - 100Mbit WiFi
PCIe 1-lane 1-lane 1-lane 1-lane -
HDMI 2x HDMI 1x HDMI 1x HDMI 1x HDMI 1x HDMI
GPIO 28 pin 40 pin 28 pin 26 pin 40 pin
Extras - - - SATA ports, one shared with USB 3, one shared with PCIe; Audio Codec -
Geekbench Score - Single CPU 228 163 156 295 91
Geekbench Score - Multi CPU 644 508 491 1087 295
Price of Tested* $65 $69 $49 $105 $40
Power Consumption 7 watts N/A 2 watts N/A N/A


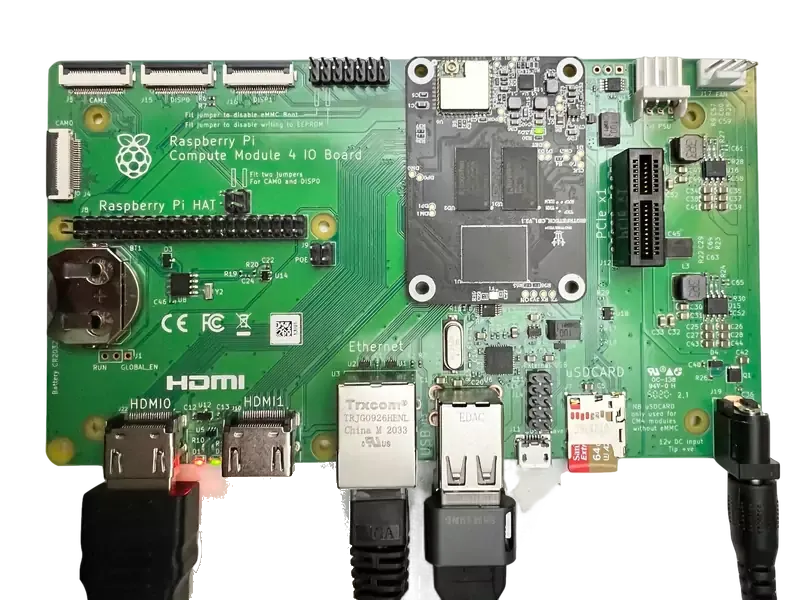
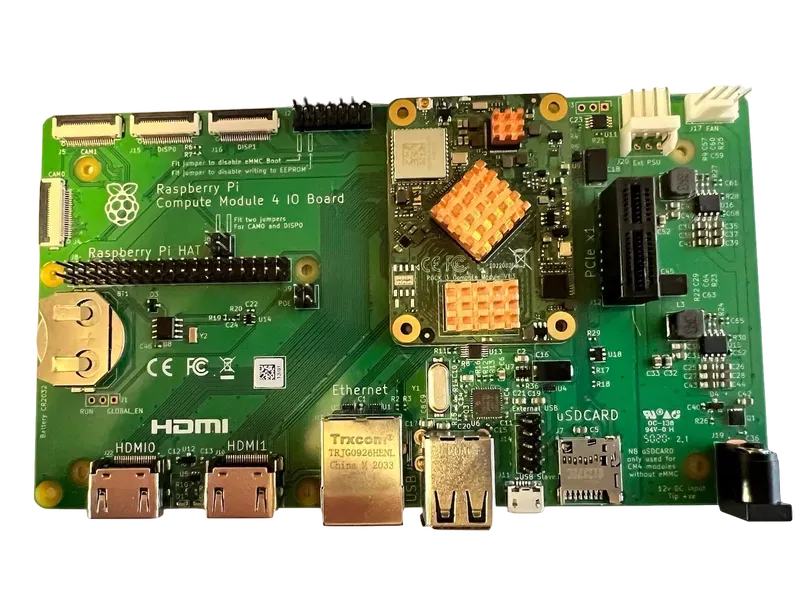
If you are thinking, what could this comparatively underwhelming module be used for? First, let's take a look at BIGTREETECH. If you have been into the 3D printer kit scene, you might be familiar with the manufacturer. BIGTREETECH is known for its 3D printer mainboards and other 3D printing related electronics. The CB1 could be easily dropped in in-place for a Raspberry Pi for your Creality Ender 3 Pro or other printer kit. You will need a carrier board for it, but it will work.

OctoPrint or Klipper will run just fine on this module. You will most certainly not need 1Gbit ethernet for printing when most 3D printers print fractions of a millimeter per minute; transmission of gcode will not max out the bandwidth. Likewise for needing more memory; OctoPrint or Klipper will certainly be more responsive with more memory, but 1GB will work just fine.

One thing that this mostly underwhelming module has going for itself is HDMI. It is capable of pumping out 60 fps 4k video. If you are looking for a module that can do this, pick the CB1. For only $40, it is a bargain compared to the RPi CM4 and compatible modules.

Disk Images for the CB1

Information and instructions on WiFi setup

For some of the CM4 pin compatible modules, like the Radxa CM3, an eMMC flash writing utility that I was only able to get working on MS Windows was needed. The CB1 is straightforward in comparison. Simply download an image (link above), and use balenaEtcher or Raspberry Pi Imager or dd to write the image to a micro SD card. The image I ultimately used comes with Linux kernel v5.16.1. Like so many Linux distributions for Arm systems, this kernel is BSP, or Board Specific Package. It is a fork from mainline Linux and it is specifically for the CB1 and its associated Arm processor. Given that this is a niche module, and short of a lot of demand for it, the kernel will likely drift as mainline Linux progresses, eventually becoming outdated. But for now, it is a contemporary, relatively new kernel by comparison; put in constrast with semi-official distribution kernel for the Banana Pi CM4, which comes with v4.9.x, was released in December of 2016.

If you stumbled upon this post by way of some 3D printer-related search, and you are just wanting to write an image to a micro sd card and get on with printing awesome stuff on your printer...here is a video with instructions.

If you do not need much computing or memory, you are mostly interested in a simple 3D printer manager or a barebones HDMI streamer, the CB1, for its price, is pretty good. There even is a drop-in replacement for Ender 3 mainboards, the BIGTREETECH Manta E3EZ V1.0 Mainboard 32 Bit Silent Control Board. This gives you OctoPrint or Klipper, for print management, plus Marlin Firmware, for printer control and gcode execution, all-in-one board for about $65. This is a great deal give the much griped about availability of Raspberry Pi modules and boards, and secondary market prices, for the small order and maker crowds.

Finally, Polycube compiles on runs successfully on this module, I will eventually include it in a network routing comparison of Raspberry Pi CM4 pin compatible modules.

Building a Kernel and Disk Image for the Radxa CM3

With my eventual goal of testing out network and router capabilities of four compute modules that are pin compatible with the Raspberry Pi CM4, I have been doing setup work. My last few postings (here, here and here) on getting Polycube, a drop-in replacement for iptables and a number of other utilities that uses eBPF instead of the usual netfilter-based mechanisms. The objective is to test out netfilterand ebpf routing on the four modules (giving me a collection of eight test sets).

I have Polycube compiled and appearing to function on the Raspberry Pi CM4, the Pine64 SOQuartz module, and the code compiled and runnable on the Radxa CM3. There is one problem with running Polycube on the CM3: the SYSCALL for eBPF was not compiled into the kernel. Even though the code successfully compiled to an executable binary, the necessary kernel hooks are not present. The solution: compile a new kernel and create a new disk image.

If you are a person who is interested in tiny computers of various flavors, you will have noticed that there are an abundance of different distributions out on the internet. An example, for the Pine64 Quartz64 model A, there are at least three different variant distributions - Plebian Linux, DietPI, and balbes150's Armbian. They all have one thing in common, they all use Debian packages and are in one sense or another, a derivative of Debian and the Debian ecosystem. If you have used Ubuntu, you have used a distribution that leverages Debian architecture and infrastructure.

The available distributions for Radxa CM3 also use Debian ecosystem components; everything from being able to utilize other arm64 packages, to using the build infrastructure for bundling up things into a handy disk image that can be burned/written to media.

Many single board computer distributions are what is called a "board support package", or BSP for short. A BSP includes low level boot programs (a first stage bootloader, prebuilt binaries and Arm Trustzone Firmware) a boot program (a second stage bootloader , like u-boot or Tianocore EFI), an operating system and the compatible drivers for that are specific to the board. The BSP is a unique bundling of software that is specific to a given board or family of boards. Often times, the Linux kernel that is included with a given BSP has been modified and new drivers have been added. The kernel is essentially a fork and no longer tracks the "main branch" of Linux kernel development and any upstream changes in the main branch maybe difficult or impossible to incorporate. The kernel is, therefore, a snapshot in time that all too often fades into obscurity because of lack of attention from the developers or a broader community (if a community exists).

Despite not having the following and community backing like that of Raspberry Pi, Radxa does have well maintained series of BSP distributions. Many do have their kernels pegged to a specific version within the Linux kernel repository, but much of the userland software is not usually tied to specific features found in specific versions -- unless the software is something like Polycube.

Radxa does a great job of providing build frameworks for both configuring and compiling a new kernel, as well as downloading packages and building a disk image. Let's get started.


The following information is based on this.

  1. As a pregame note, I made a virtual machine using VirtualBox. Specifically, Debian 11 for build the new kernel in order to prevent any unnecessary contaminations of packages, dependencies or the like on my laptop. The building of the distribution image uses Docker and will not pose any issues.

  2. Clone the Github repository rockchip-bsp and specifically the stable-4.19-rock3 branch. The pull in any submodules.

    git clone -b stable-4.19-rock3 https://github.com/radxa/rockchip-bsp.git
    cd rockchip-bsp
    git submodule init
    git submodule update

    The stable-4.19-rock3 branch has support for the following boards:

    • ROCK 3A
    • ROCK 3B
    • Radxa CM3 IO
    • Radxa E23
    • Radxa E25
    • Radxa CM3 RASPCM4IO

    Cloning the repository and checking out the stable-4.19-rock3 branch produces the following directories:

    • build: Some script files and configuration files for building u-boot, kernel and rootfs.
    • kernel: kernel source code, current version is 4.19.193..
    • rkbin: Prebuilt Rockchip binaries, include first stage loader and Arm TrustZone Firmware.
    • rootfs: Bootstrap a Debian based rootfs, support architecture armhf and arm64, supports Debian Jessie, Stretch and Buster.
    • u-boot: u-boot as the second stage bootloader

    There are a few things to note. First, our kernel is version 4.19.193. Polycube requires at minimum v4.15. With v4.19, we are covered. Second, this repository/project contains scripts to bootstrap and build a disk image. We will not be using this functionality. The supported Debian distributions are too old. We have been using at least Debian bullseye for all of our Polycube testing.

  3. Install a Linaro toolchain. This is used for compiling code on an x86/amd64 and producing arm64 binaries.

    wget https://releases.linaro.org/components/toolchain/binaries/7.3-2018.05/aarch64-linux-gnu/gcc-linaro-7.3.1-2018.05-x86_64_aarch64-linux-gnu.tar.xz
    sudo tar xvf gcc-linaro-7.3.1-2018.05-x86_64_aarch64-linux-gnu.tar.xz  -C /usr/local/

    Linaro has driven open source software development on Arm since 2010, providing the tools, Linux kernel quality and security needed for a solid foundation to innovate on. Linaro works with member companies and the open source community to maintain the Arm software ecosystem and enable new markets on Arm architecture.

  4. In your user's .bashrc file, append the following line:

    export PATH="/usr/local/gcc-linaro-7.3.1-2018.05-x86_64_aarch64-linux-gnu/bin:$PATH"
    Then source .bashrc to update your PATH variable.
    source ~/.bashrc

    Verify that the Linaro GCC toolchain is visable from your PATH

    which aarch64-linux-gnu-gcc
    /usr/local/gcc-linaro-7.3.1-2018.05-x86_64_aarch64-linux-gnu/bin/aarch64-linux-gnu-gcc
  5. Install a few packages:

    sudo apt-get install gcc-aarch64-linux-gnu \
                  device-tree-compiler libncurses5 libncurses5-dev \
                  build-essential libssl-dev mtools bc python dosfstools
  6. Build u-boot for Radxa CM3 and specifically for use with a Raspberry Pi CM4 carrier/io board.

    ./build/mk-uboot.sh rk3566-radxa-cm3-raspcm4io

    There should be files in out/u-boot

    ls -l out/u-boot
    total 2132
    -rw-rw-r-- 1 alex alex  299008 Feb  1 22:43 idbloader.img
    -rw-rw-r-- 1 alex alex  453056 Feb  1 22:43 rk356x_spl_loader_ddr1056_v1.10.111.bin
    -rw-rw-r-- 1 alex alex 1426944 Feb  1 22:43 u-boot.itb
  7. Configure a new kernel. If you have ever cloned the Linux source code repository or unarchived a tar-file of the source and then configured kernel and then compiled it, the following step will be familiar. The build process has been remarkably similar for better part of twenty-five years. I had not configured and compiled a kernel from source in a very long time; the kernel configuration process was remarkably familiar.

    cd kernel
    export ARCH=arm64
    export CROSS_COMPILE=aarch64-linux-gnu-
    make rockchip_linux_defconfig

    There will be a file named .config, you can either edit this by hand (if you have an idea of what you are doing and need to do) or you can use a handy menu-driven interface. Either way, for my specific needs of enabling eBPF, I simply opened .config in an editor, and searched for references to BPF.

    If you want to try the menu-driven method, execute the following:

    make menuconfig

    Save your new configuration (run this whether you editted by hand or used menuconfig)

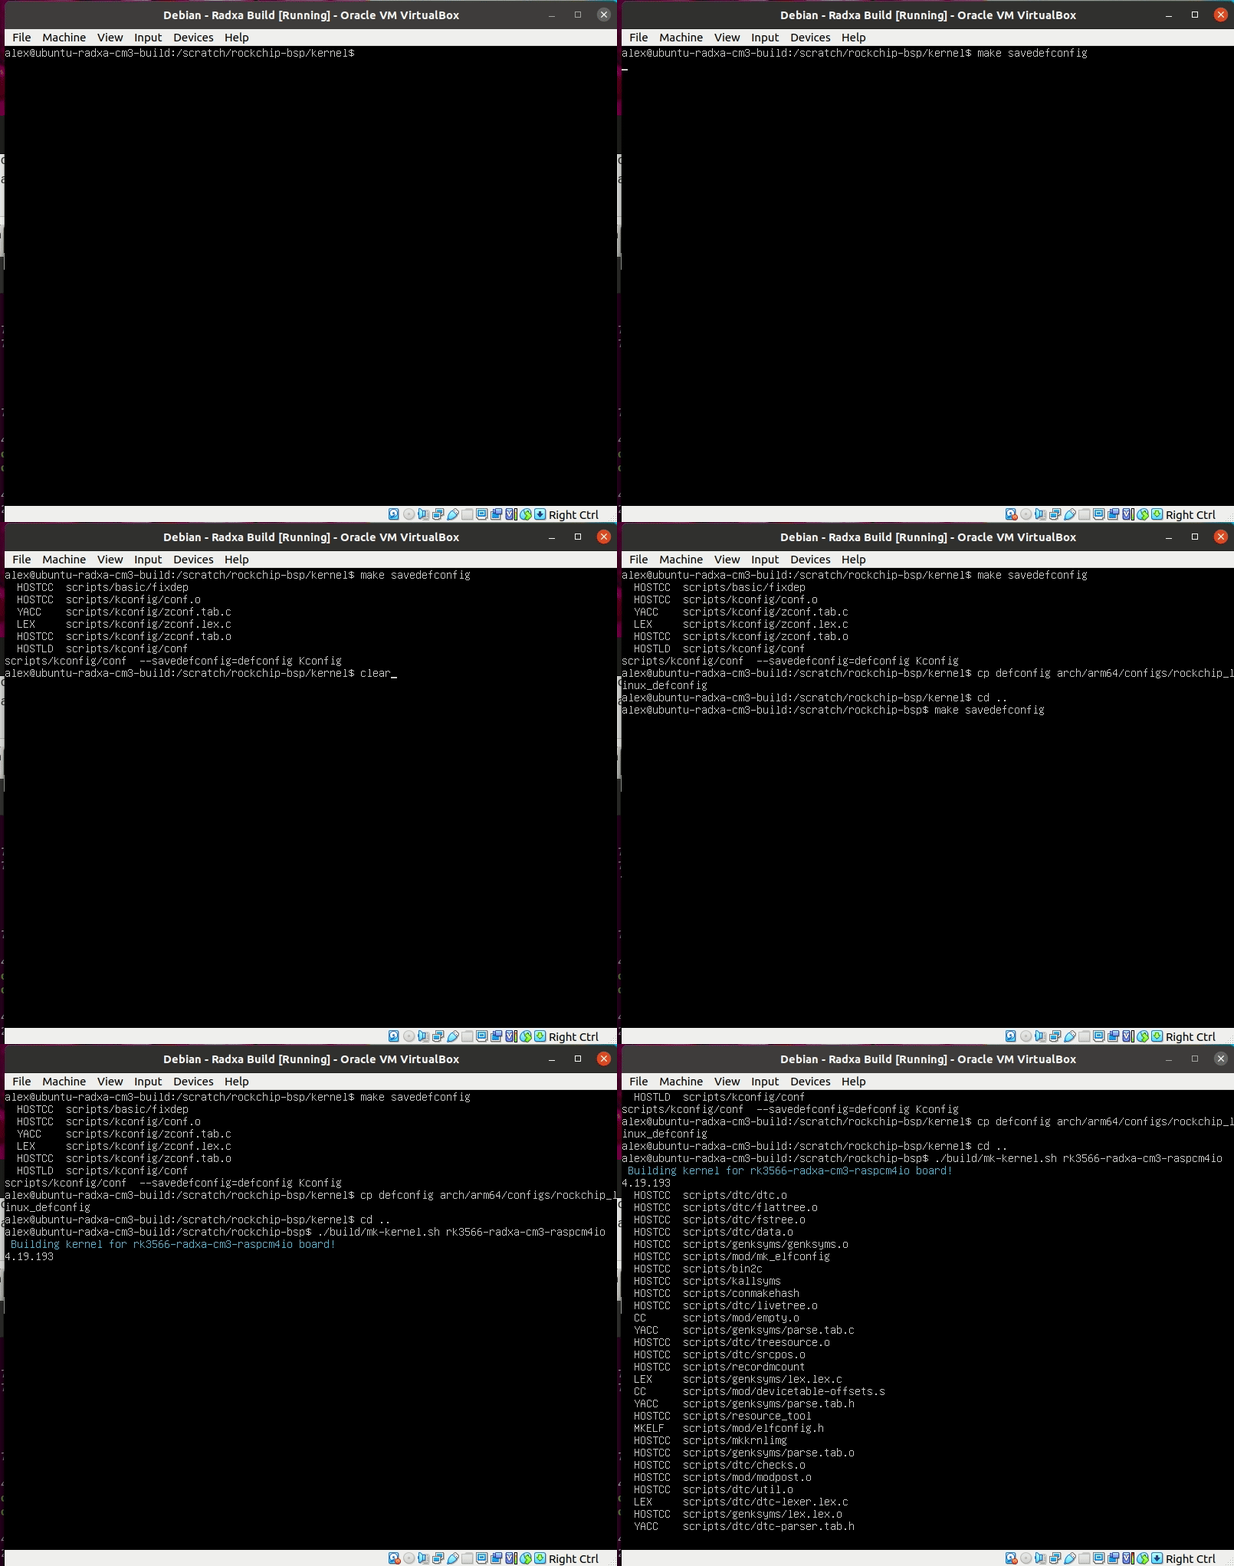
    make savedefconfig
    cp defconfig arch/arm64/configs/rockchip_linux_defconfig
    cd ..


  8. Build a kernel

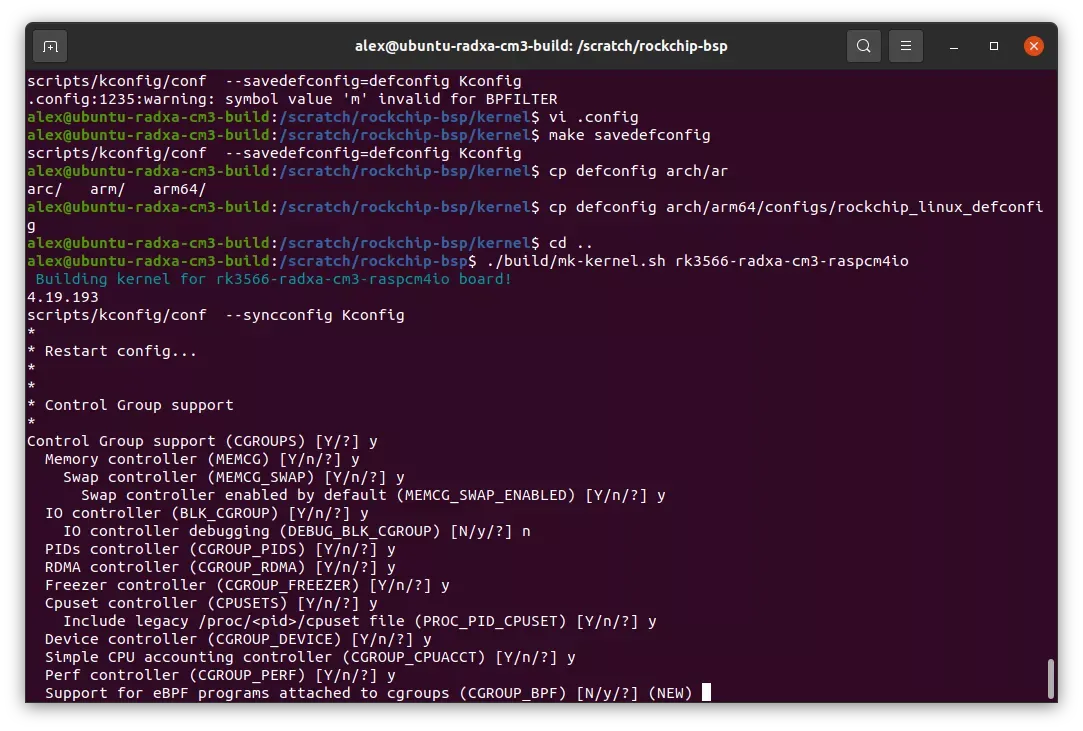
    ./build/mk-kernel.sh rk3566-radxa-cm3-raspcm4io
    This will kick off the compilation of the kernel; obviously, depending upon your build machine, it might take a while.

    You will likely be presented with some configuration questions:

    Give that I am not entirely versed in things-kernel, I answered y to all of the questions. Leave a comment below if you have some insight into the questions that are presented during the build process.

  9. Pack up your new kernel and associated headers into Debian package files (e.g. .deb). The parameters for pack-kernel.sh are: 1) the name of the kernel configuration file (from step #7); 2) ebpf is a release value, it should be something useful.

    ./build/pack-kernel.sh -d rockchip_linux_defconfig -r ebpf
    This will compile the kernel, again, but this appears to be necessary because this steps does not configure the appropriate chip and board as in the previous step.

    ls out/packages/
    linux-4.19.193-ebpf-rockchip-g67a0c0ce87a0_4.19.193-ebpf-rockchip_arm64.changes
    linux-headers-4.19.193-ebpf-rockchip-g67a0c0ce87a0_4.19.193-ebpf-rockchip_arm64.deb
    linux-image-4.19.193-ebpf-rockchip-g67a0c0ce87a0_4.19.193-ebpf-rockchip_arm64.deb
    linux-image-4.19.193-ebpf-rockchip-g67a0c0ce87a0-dbg_4.19.193-ebpf-rockchip_arm64.deb
    linux-libc-dev_4.19.193-ebpf-rockchip_arm64.deb

    These Debian packages will be needed when we build a Debian bullseye distribution.

  10. You will also need to copy rk3566-radxa-cm3-rpi-cm4-io.dtb from out/kernel directory; this device table is needed when writing a new disk image to the CM3.

    If you do want to assemble an older distribution (Debian buster or stretch), you can follow steps for Make rootfs image found here. I have a pre-built Debian buster with Desktop disk image available here

  11. Change directories to place outside of the rockchip-bsp directory, and now, clone the Radxa rbuild tool

    git clone https://github.com/radxa-repo/rbuild.git

    You will need docker and associated software packages. Installing these tools should be straightforward and there are dozens if not hundreds of howtos widely available to assist you. If you do not have docker command line tools installed and you looking for a quick guide, follow these instructions before proceding.

  12. Make a directory for your kernel packages; copy kernel packages

    cd rbuild
    Make a directory for the kernel packages; I will be using docker outside of the virtual machine that I used to build the kernel packages. You are free to use the VM for building the bullseye disk image, I ran into issues and decided to use my laptop to directly use docker. I used scp to copy the kernel packages from the VM into a directory named kernel that is in the rbuild directory containing the cloned repo.
  13. Run rbuild to magically assemble a disk image for you; this will take a while, best to grab some coffee, or lunch, or just go home for the day. There is also a strong chance of having network timeouts while downloading necessary files. I ended up having at least five times where a package download failed and killed the whole build process. On a my Dell XPS Developer Edition laptop, in a VirtualBox VM, the process took over eight hours. It should be noted that even if there is a timeout, by specifying the -r parameter to rbuild, this is caching the necessary Debian packages.

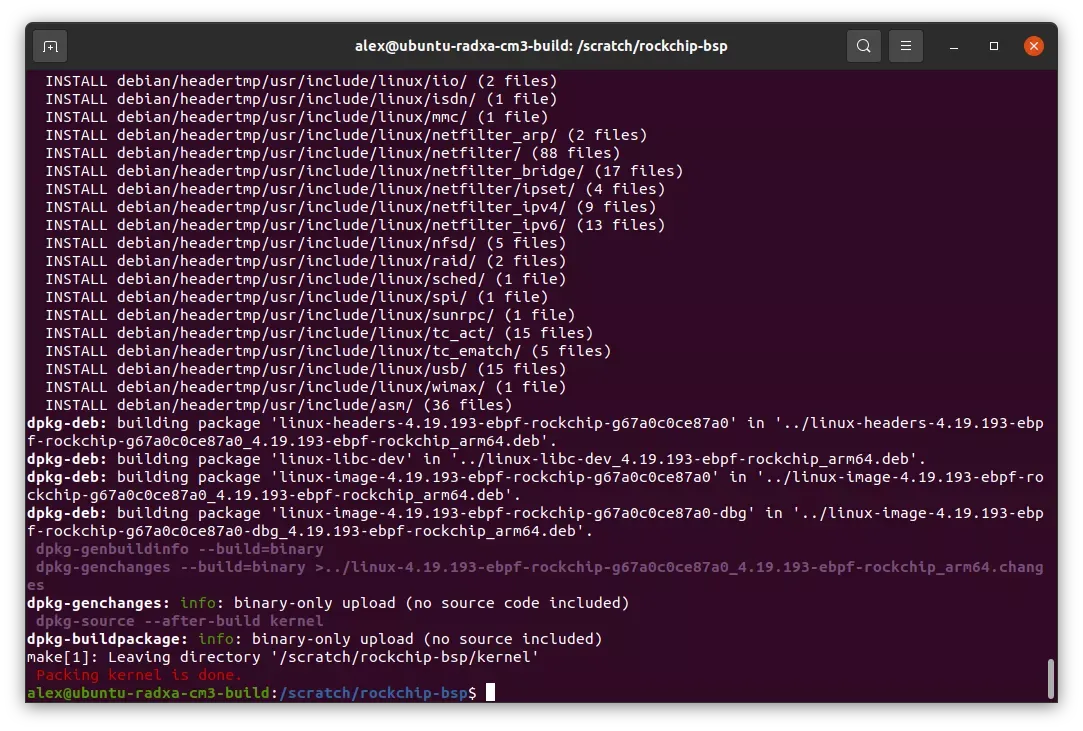
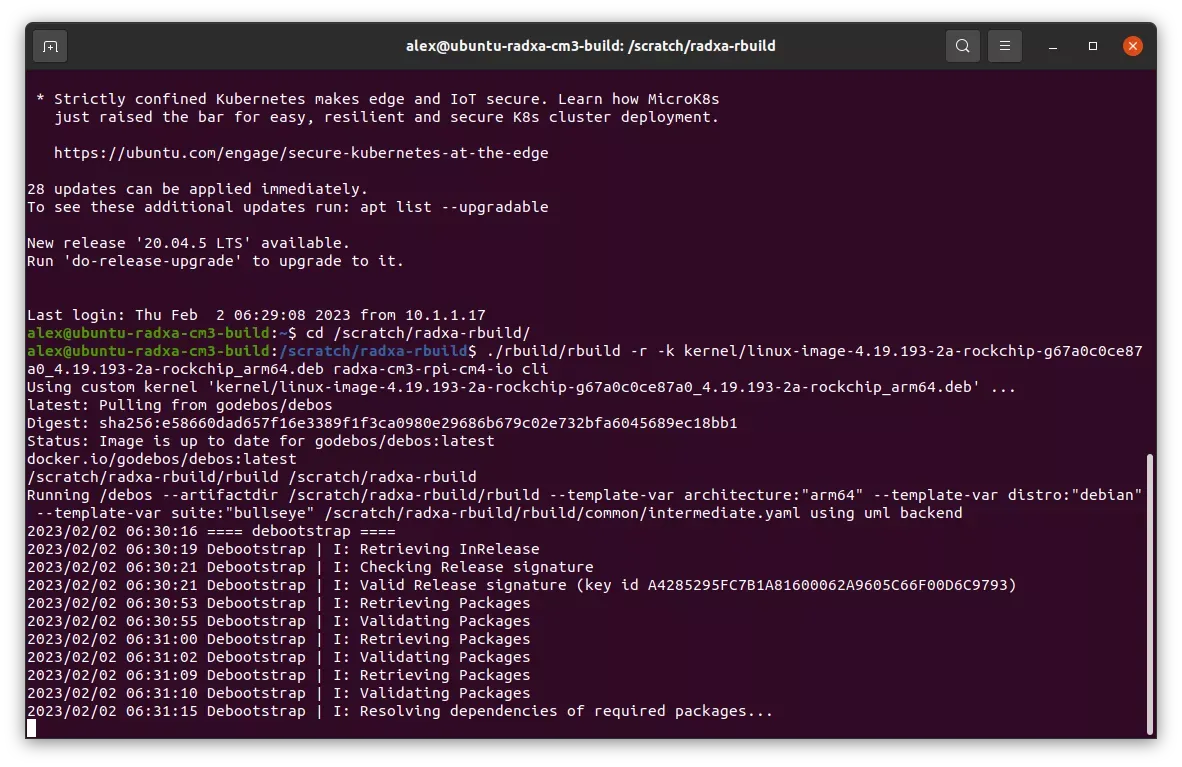
    ./rbuild -r -k kernel/linux-image-4.19.193-ebpf-rockchip-g67a0c0ce87a0_4.19.193-ebpf-rockchip_arm64.deb radxa-cm3-rpi-cm4-io cli

    ls -l
    total 1434692
    -rw-rw-r-- 1 alex alex       3322 Feb  1 22:17 action.yaml
    drwxrwxr-x 6 alex alex       4096 Feb  2 09:38 common
    drwxrwxr-x 2 alex alex       4096 Feb  1 22:17 configs
    drwxrwxr-x 2 alex alex       4096 Feb  1 22:38 kernel
    -rw-r--r-- 1 alex alex 6442450944 Feb  2 11:48 radxa-cm3-rpi-cm4-io_debian_bullseye_cli.img
    -rw-rw-r-- 1 alex alex        175 Feb  2 11:48 radxa-cm3-rpi-cm4-io_debian_bullseye_cli.img.sha512
    -rwxrwxr-x 1 alex alex      18869 Feb  1 22:17 rbuild
    -rw-rw-r-- 1 alex alex       1542 Feb  1 22:17 README.md
  14. And there we have it. radxa-cm3-rpi-cm4-io_debian_bullseye_cli.img is your new disk image, complete with a custom compiled kernel with eBPF enabled. We can compress the disk image with xz to make it more manageable.

    xz -z -v radxa-cm3-rpi-cm4-io_debian_bullseye_cli.img
    radxa-cm3-rpi-cm4-io_debian_bullseye_cli.img (1/1)
      3.0 %     5,938.2 KiB / 185.7 MiB = 0.031    10 MiB/s       0:18   9 min 50 s
  15. You can download the kernel and disk image that was built during the writing of this post: https://cdn.tinycomputers.io/radxa-rock3/debian-buster-linux-4.19.193-2a-eBPF-rockchip-rk3566-radxa-cm3-rpicm4io.img.xz

    The Device Table file built during the writing of this post: https://cdn.tinycomputers.io/radxa-rock3/linux-image-4.19.193-ebpf-rockchip-g67a0c0ce87a0_4.19.193-ebpf-rockchip_arm64.dtb

  16. Instructions on writing the disk image to eMMC on the Radxa CM3, you can follow the instructions on my previous post, Raspberry Pi CM4 and Pin Compatible Modules

More Information on Radxa's build scripts, rbuild documentation and its github repo