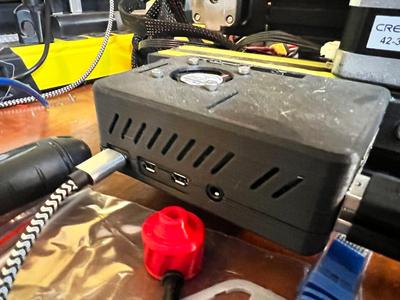
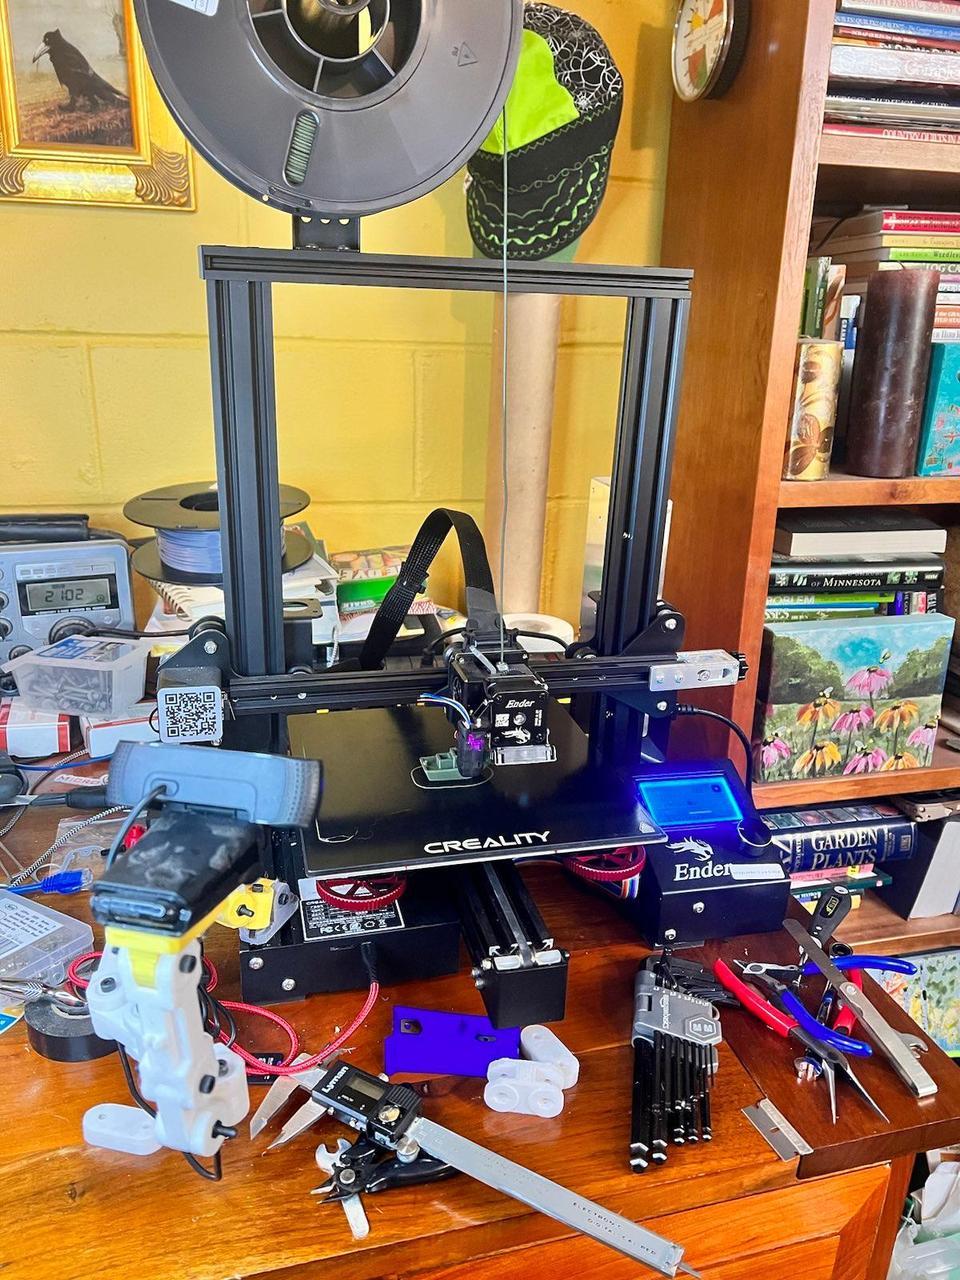
 Just about the only thing original and stock on my two Creality Ender 3 Pro 3D printers are the extruded aluminum frames and the control interface with its infinite-turn control knob. Everything else has been replaced; mainboard, extruder hot end and direct filament drive, Z-axis upgrade with additional stepper motor, auto bed leveling and, of course, the firmware and the addition of printer management software, Octo Print via a Raspberry Pi 4b. Oh, and a web camera. The incredibly cluttered photo to left is one of my two heavily upgraded Ender 3 Pro printers.
If you are new to the 3D printer scene, and in particular the world of upgrades and modifications to kit-printers, let's step back and have an brief overview. I won't get into the super-weedy-details because that has likely been covered ad nauseam.
The gist of 3D printing is, you have filament; it can be made of a whole host of materials; everything from nylon with carbon fiber embedded in it, to the more mundane, polylactic acid or more commonly called PLA. This filament is softened enough to flow by way of the hot end and is pushed out of a precision nozzle. This hot end is most often mounted on a series X and Z-axis rails. A heated bed is mounted on the Y-axis. All the movement is made possible by the use of stepper motors. The motors, the hotend and bed temperatures are all controlled by a mainboard.
Upgrades
The upgraded mainboard has a STM32 F103 RET6 microcontroller. The upgrade gives you a 32 bit processor versus the original 8 bit -- this allows for more complicated firmware installs. The board also has improved, silent stepper motor controllers. In order to fully take advantage of this motherboard and accessories like the CR Touch or BL Touch, you will need configure and recompile the Marlin Firmware. We get to that later in this post.
The upgrades listed above are what I eventually arrived upon. There was a Micro Swiss Direct Drive Extruder.
| Upgrade Costs Breakdown | |
|---|---|
| Part | Cost |
| Micro Swiss Direct Drive Extruder | $99.75 |
| Creality Sprite Direct Drive Extruder Pro Kit | $109.99 |
| Micro-Swiss All Metal Hotend Kit | $63.50 |
| Ender 3 Dual Z-axis Upgrade Kit | $35.79 |
| Upgrade X-axis Belt Tensioner | $15.98 |
| Ender 3 Dual Z-axis Upgrade Kit | $35.79 |
| Spring Steel Flexible Build Surface Magnetic Removable Bed Sheet | $15.98 (2x) |
| Creality Ender 3 Pro 32-bit Silent Board Motherboard V4.2.7 | $42.99 |
| Raspberry Pi 4b - 2GB | $45.00 |
| DC 6V 9V 12V 24V to DC 5V 5A Buck Converter Module, 9-36V Step Down to USB 5V | $42.99 |
| Logitech C920x HD Pro Webcam | $69.99 |
| Creality BLTouch V3.1 Auto Bed Leveling Sensor Kit | $47.99 |
| Base model Ender 3 Pro | $236.00 |
| Total | $877.72 |
UPDATE 2023/02/25: I purchased a Creality Sprite Extruder Pro ($109.99) This is an improvement on the Creality Sprite Extruder; it allows for filament temperatures up to 300℃. I have a longer term project in mind that will require printing with material at or above 260℃.
As you can see, a base model Ender 3 Pro costs $236.00, but throw in an armful of higher end upgrades (for the retail market), and you suddenly have a setup that has cost nearly $900.00. Yikes! Are all of these upgrades necessary? I would have to say, No. The Creality Direct Drive extruder is well worth the money - never again deal with bowden tubes. The other two must upgrades are the mainboard and adding a CR Touch or BL Touch auto-leveling sensor. Runners up is the dual Z-axis; it really stabilizes the frame.
Firmware
In order to take advantage of a CR Touch or BL Touch, you will need to configure the firmware to use it. The probe-to-offset also needs to be changed when using the Sprite Direct Drive as the nozzle is a slight different location than the stock nozzle. I won't go into all the details of, but you can compare Configuration_og.h (the original) and Configuration.h as well as Configuration_adv_og.h and Configuration_adv.h. The changes range from enabling CR Touch/BL Touch and enabling a comprehensive bed leveling system, to adjusting the position of the nozzle and enabling thermal safety features.
git clone https://github.com/ajokela/ender3pro_marlin-2.0.x.gitOpen Visual Studio Code, and Open Folder. Navigate to where you cloned the repository to and open it.
If you are wanting configuration and compile your own firmware, checkout Marlin and Platform.io. It will get your started. Once Platform.io is installed, you can clone the repo and open it in Visual Code.
Here are the things that were changed in Configuration.h and Configuration_adv.h
Configuration.h
|
|
|---|---|
#define STRING_CONFIG_H_AUTHOR "(Alex, Ender-3 Pro)" |
Who made the changes. |
#define CUSTOM_MACHINE_NAME "Ender-3 Pro 4.2.7 - fw v2.0.9.3 - 2023-02-23" |
I like to put the date and version numbers in firmware so it is easy to identify a what and a when |
#define HEATER_0_MAXTEMP 315 |
You will want to be careful with this setting; it is the temperature of the hotend in celsius; Needed higher than default for printing nylon and PET-G. Because of HOTEND_OVERSHOOT, maximum temperature will always be MAXTEMP - HOTEND_OVERSHOOTDO NOT SET AT THIS IF YOU HAVE A STOCK HOTEND |
#define HOTEND_OVERSHOOT 20 #define BED_OVERSHOOT 15 |
(°C) Forbid temperatures over MAXTEMP - OVERSHOOT for hotend and (°C) Forbid temperatures over MAXTEMP - OVERSHOOT for bed |
#define S_CURVE_ACCELERATION |
Smoother curve motions |
//#define Z_MIN_PROBE_USES_Z_MIN_ENDSTOP_PIN |
Comment out because we will be using a CR-Touch or BL-Touch |
#define USE_PROBE_FOR_Z_HOMING |
Force the use of the probe for Z-axis homing |
#define BLTOUCH |
Enable BL Touch/CR Touch |
#define NOZZLE_TO_PROBE_OFFSET { -10.0, -10.0, 0 } |
Move the offset for the Sprite Direct Drive hotend |
#define PROBING_MARGIN 15 |
A little more buffer around the perimeter |
#define MULTIPLE_PROBING 2 #define EXTRA_PROBING 1 |
Add extra probings to eliminate outliers |
#define PREHEAT_BEFORE_PROBING #if ENABLED(PREHEAT_BEFORE_PROBING) #define PROBING_NOZZLE_TEMP 200 // (°C) Only applies to E0 at this time #define PROBING_BED_TEMP 60 #endif |
Require minimum nozzle and/or bed temperature for probing; bump temperature to match pre-probing temperature |
#define Y_BED_SIZE 210 #define Z_MAX_POS X_BED_SIZE |
Adjust bed size; I ran into problems where the extruder would overshoot the bed. |
#define AUTO_BED_LEVELING_UBL |
Unified Bed Leveling. A comprehensive bed leveling system combining the features and benefits of other systems. UBL also includes integrated Mesh Generation, Mesh Validation and Mesh Editing systems. |
#define ENABLE_LEVELING_AFTER_G28 |
Always enable leveling immediately after G28. |
#define G26_MESH_VALIDATION |
Enable the G26 Mesh Validation Pattern tool. |
#define GRID_MAX_POINTS_X 6 #define UBL_HILBERT_CURVE #define UBL_MESH_WIZARD |
Use Hilbert distribution for less travel when probing multiple points. Run several commands in a row to get a complete mesh. |
#define LCD_BED_LEVELING |
Add a bed leveling sub-menu for ABL or MBL. |
#define Z_SAFE_HOMING |
Moves the Z probe (or nozzle) to a defined XY point before Z homing. |
#define PREHEAT_1_TEMP_HOTEND 200 #define PREHEAT_1_TEMP_BED 60 |
Bump up the preheat temperatures of hotend and bed |
Configuration_adv.h
|
|
|---|---|
#define THERMAL_PROTECTION_PERIOD 120 // Seconds #define THERMAL_PROTECTION_HYSTERESIS 10 // Degrees Celsius |
False positives with Thermal Runaway |
#define EXTRUDER_RUNOUT_PREVENT #if ENABLED(EXTRUDER_RUNOUT_PREVENT) #define EXTRUDER_RUNOUT_MINTEMP 195 #define EXTRUDER_RUNOUT_SECONDS 30 #define EXTRUDER_RUNOUT_SPEED 1500 // (mm/min) #define EXTRUDER_RUNOUT_EXTRUDE 5 // (mm) #endif |
Extruder runout prevention. If the machine is idle and the temperature over MINTEMP then extrude some filament every couple of SECONDS. |
#define HOTEND_IDLE_TIMEOUT #if ENABLED(HOTEND_IDLE_TIMEOUT) #define HOTEND_IDLE_TIMEOUT_SEC (10*60) // (seconds) Time without extruder movement to trigger protection #define HOTEND_IDLE_MIN_TRIGGER 195 // (°C) Minimum temperature to enable hotend protection #define HOTEND_IDLE_NOZZLE_TARGET 0 // (°C) Safe temperature for the nozzle after timeout #define HOTEND_IDLE_BED_TARGET 0 // (°C) Safe temperature for the bed after timeout #endif |
Hotend Idle Timeout and Prevent filament in the nozzle from charring and causing a critical jam. |
#define PROBE_OFFSET_WIZARD |
Add Probe Z Offset calibration to the Z Probe Offsets menu |
#define PROBE_OFFSET_WIZARD_START_Z -4.0 |
Enable to init the Probe Z-Offset when starting the Wizard. Use a height slightly above the estimated nozzle-to-probe Z offset. |
#define PROBE_OFFSET_WIZARD_XY_POS { X_CENTER, Y_CENTER }
|
Set a convenient position to do the calibration (probing point and nozzle/bed-distance). |
#define LCD_SET_PROGRESS_MANUALLY |
Add an 'M73' G-code to set the current percentage |
#define USE_M73_REMAINING_TIME #define ROTATE_PROGRESS_DISPLAY |
Use remaining time from M73 command instead of estimation; and Display (P)rogress, (E)lapsed, and (R)emaining time |
#define LCD_PROGRESS_BAR |
Show a progress bar on HD44780 LCDs for SD printing |
#define BINARY_FILE_TRANSFER |
Add an optimized binary file transfer mode, initiated with 'M28 B1' |
#define BABYSTEP_DISPLAY_TOTAL #define BABYSTEP_ZPROBE_OFFSET #if ENABLED(BABYSTEP_ZPROBE_OFFSET) #define BABYSTEP_ZPROBE_GFX_OVERLAY #endif |
Display total babysteps since last G28 Combine M851 Z and Babystepping Enable graphical overlay on Z-offset editor |
#define HOST_ACTION_COMMANDS
#if ENABLED(HOST_ACTION_COMMANDS)
  #define HOST_PAUSE_M76
  #define HOST_PROMPT_SUPPORT
  #if ENABLED(HOST_PROMPT_SUPPORT)
    #define HOST_STATUS_NOTIFICATIONS
  #endif
  #define HOST_START_MENU_ITEM
  #define HOST_SHUTDOWN_MENU_ITEM
#endif
|
Tell the host to pause in response to M76 Initiate host prompts to get user feedback Send some status messages to the host as notifications Add a menu item that tells the host to start Add a menu item that tells the host to shut down |