Introduction
In today's interconnected world, the need for virtualization technologies is more pronounced than ever. These tools help developers simulate different computing environments, facilitating easy testing and debugging across platforms. QEMU, an abbreviation for Quick Emulator, is one such powerful technology. It's a free and open-source hypervisor that performs hardware virtualization. Since its inception, it has become a cornerstone in the world of emulation, offering support for various hardware platforms and operating systems. This article will delve into the history of QEMU, its uses, and technical aspects.
To be honest, I had shyed away from experimenting with QEMU; I had used VMWare and VirtualBox for some time. I first utlitized VMWare in 2007 when a, at the time, friend and I started a software development and consultancy. Amazon Web Services had been launched just one year prior and it was not an established name is computing. Cloud Computing was not called that; I recall a reading about Sun Microsystems developing "Utility Computing"; pay as you go. The idea seemed crazy to me at the time. When you needed compute power, you bought physical hardware, in our case, a Dell PowerEdge 1950. We did an initial installation of Debian Linux and installed VMWare and then shipped the server to a colocation facility in Miami, FL. There, we would create, manage, and ultimately destroy countless virtual machines over the lifetime of the server as well as the halcyon days of the consultancy.
In an odd chain-reaction of thoughts, I wanted to experiment with getting MacOS 9 running on modern hardware. As it turns out, QEMU comes in quite handy.
History of QEMU
QEMU was initially released in 2003, a creation of French programmer Fabrice Bellard, who is also known for creating other groundbreaking tools like FFmpeg and LZEXE. Bellard's idea was to develop a fast, portable dynamic translator that could make software developed for one machine run on another.
While the initial version of QEMU only supported emulation for x86, ARM, and SPARC architectures, it gradually expanded to cater to various others like PowerPC, MIPS, and more. Throughout its history, QEMU has continually evolved and improved, integrating with other projects like KVM (Kernel-based Virtual Machine) and libvirt, and extending its support to system and user-mode emulation.
Use of QEMU
QEMU has a wide array of applications, ranging from cross-platform development, virtualization, sandboxing, to hardware design and testing.
Cross-Platform Development and Testing: As QEMU can emulate different architectures, it has become an invaluable tool for developers, allowing them to compile and test their code across various platforms without needing physical access to them. This functionality significantly accelerates the software development process, enabling more efficient multi-platform software creation.
Virtualization: In conjunction with KVM, QEMU can run multiple operating systems concurrently on a single hardware host. This feature has driven the rapid growth of cloud computing, where multiple virtual machines are hosted on powerful servers, offering flexibility and scalability to businesses.
Sandboxing: QEMU's ability to emulate an entire system makes it ideal for creating secure sandboxes. This is particularly useful for testing potentially harmful code or software without risking the host system's integrity.
Hardware Design and Testing: In hardware design and testing, QEMU is used to emulate the behavior of different hardware components. It enables hardware designers to simulate and validate their designs before manufacturing the physical components.
Technical Details of QEMU
QEMU can function in two primary modes: system emulation mode and user-mode emulation.
 System Emulation Mode: In this mode, QEMU can emulate a full computer system, including a processor and various peripherals. It can boot and run different operating systems and applications compiled for a different CPU, providing complete system isolation. The system mode is beneficial for debugging system code and running unmodified guest operating systems.
User-mode Emulation: In user mode, QEMU can launch individual Linux processes compiled for one CPU on another CPU. This approach is highly beneficial for running binary files from different architectures and is often used to build and test software in a cross-compilation environment.
The technical prowess of QEMU lies in its dynamic binary translation. It translates the binary code of a guest system into the binary code of a host one instruction at a time, creating a cache of translated code to optimize performance. QEMU supports numerous architectures, including x86, ARM, MIPS, SPARC, and PowerPC, among others, either as the host or the guest architecture.
When paired with KVM, QEMU's capabilities expand even further. KVM, a feature of the Linux kernel, facilitates hardware-assisted virtualization. When QEMU is combined with KVM, it uses the CPU's virtualization extensions, offering near-native performance for the emulated guest system.
To manage QEMU and KVM virtual machines, libvirt, a toolkit, is often used. It provides a common, consistent API, simplifying the management of different virtualization technologies.
Quick HOWTO
-
Installation:
sudo apt-get install qemu-system-ppc- You may or may not need to install other packages. Google will be your friend.
-
Download Required Files:
- Head over to here to grab an ISO of macOS 9.2.2
-
Prepare a QEMU Disk Image:
- Create a blank disk image that will serve as the virtual hard drive for macOS 9.2. You can do this using the
qemu-imgcommand:qemu-img create -f qcow2 macos9.qcow2 10G
- Create a blank disk image that will serve as the virtual hard drive for macOS 9.2. You can do this using the
-
Install macOS 9.2 on QEMU:
- Launch the QEMU virtual machine with the following command:
qemu-system-ppc -M mac99 -m 512 -boot d -cdrom path/to/macos9.iso -hda macos9.qcow2 -netdev user,id=net0 -device sungem,netdev=net0Note: Replacepath/to/macos9.isowith the path to your macOS 9.2 installation ISO or CD image.
- Launch the QEMU virtual machine with the following command:
-
Restore:
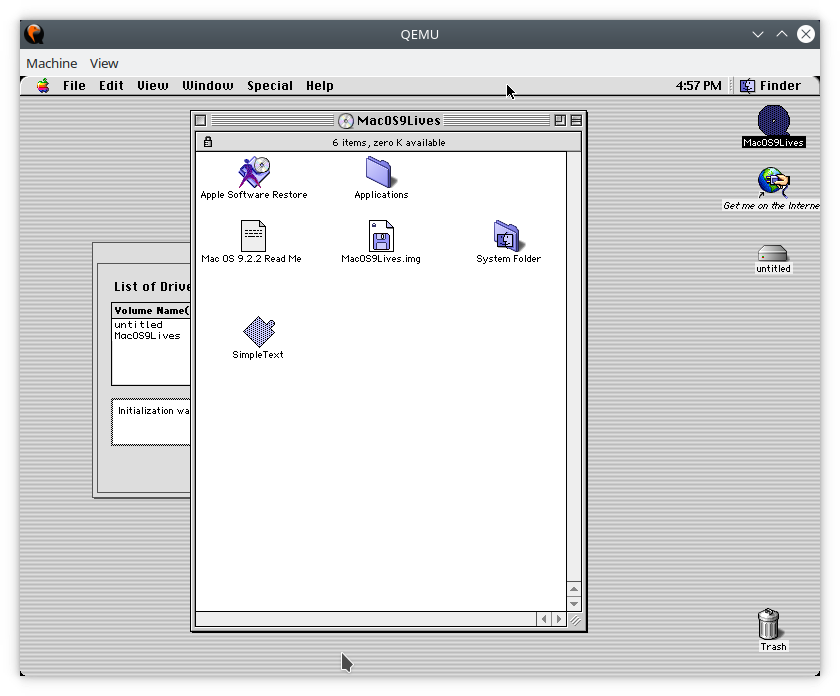
- You cannot simply install macOS, you will need to restore. Locate
Apple Software Restoreon the CD drive. Run the program and follow the instructions.
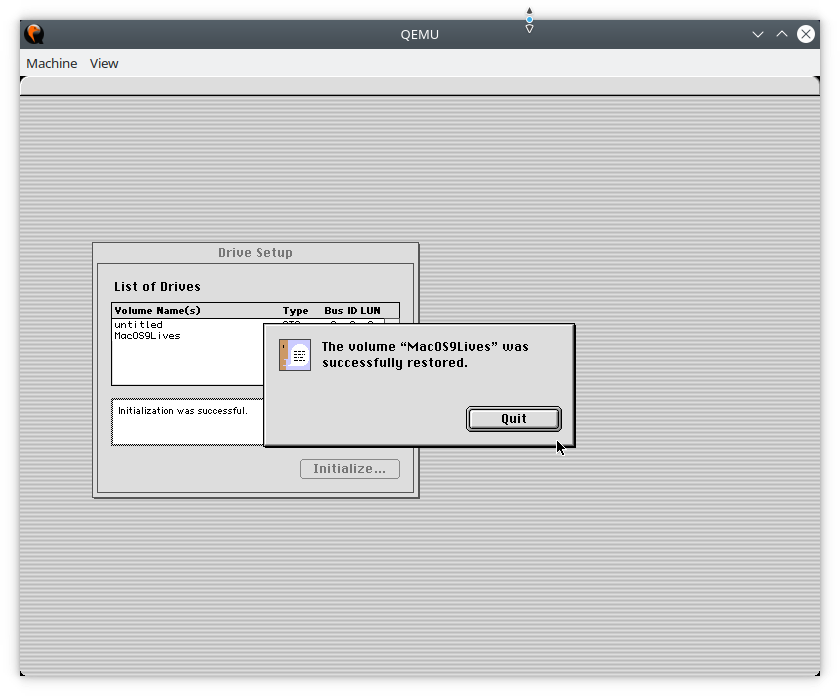
- You cannot simply install macOS, you will need to restore. Locate
-
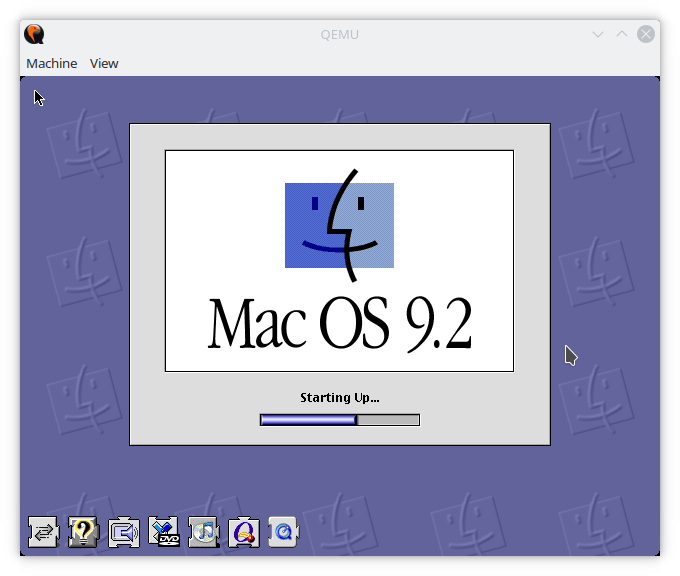
Launching macOS 9.2:
-
Once the restore is complete, you can start macOS 9.2 using a similar command as before:
qemu-system-ppc -M mac99 -m 512 -hda macos9.qcow2 -netdev user,id=net0 -device sungem,netdev=net0 -g 1024x768x32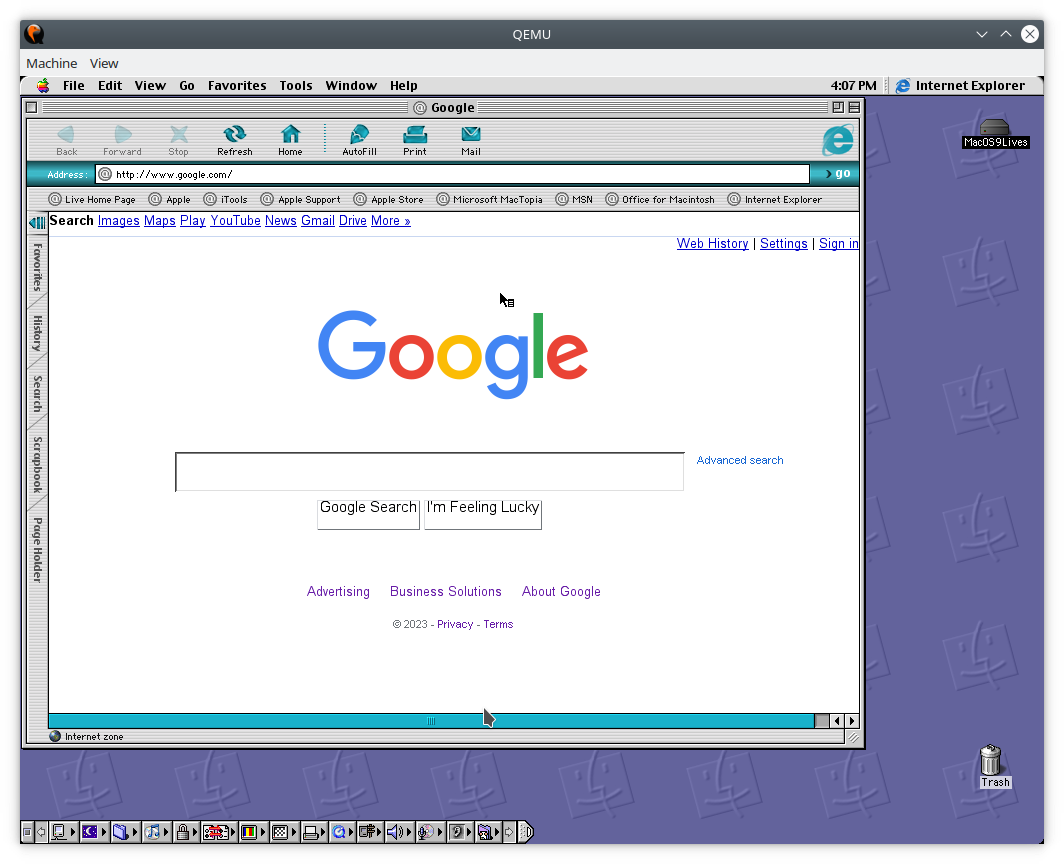
Keep in mind that macOS 9.2 may not work perfectly on QEMU due to limited hardware emulation and driver support. If you encounter any issues, there might not be straightforward solutions. Use Google
Final Thoughts
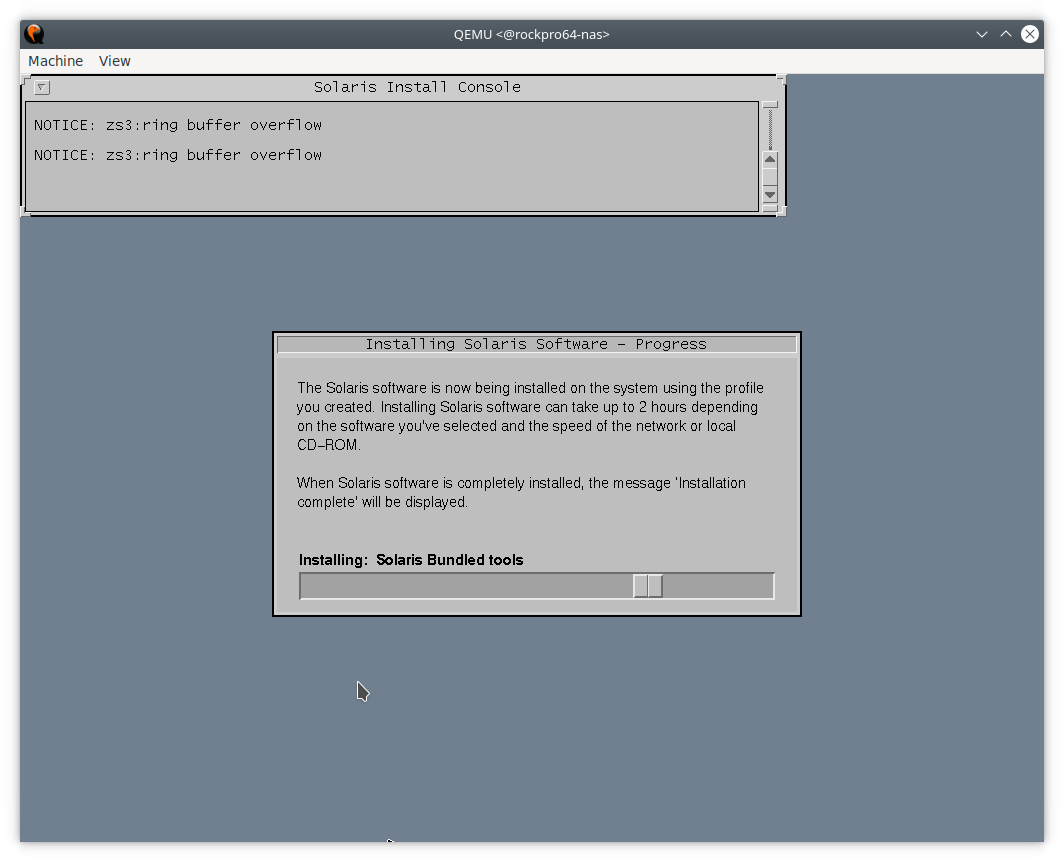
Here are instructions on running MacOS 9 on a couple different flavors of Mac architecture. I personally got MacOS 9 running under Linux and specifically Armbian running on a Pine64 ROCKPro64; this meant that audio and a couple other things did not work.